3D printers can produce amazing things, but they can also produce incredible disasters.
This article runs through five common 3D printing problems with solutions to help you get a handle on your 3D printing.
The surfaces are messy on the areas overhanging the plate or have printing errors or rough patches.
What’s wrong and what to do?
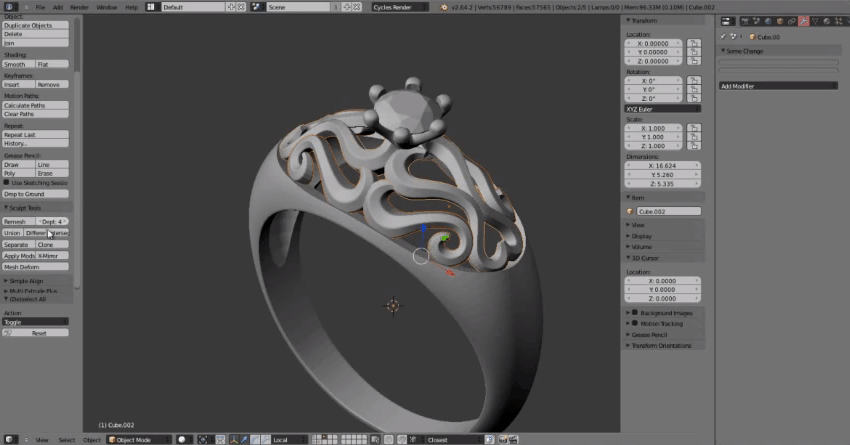
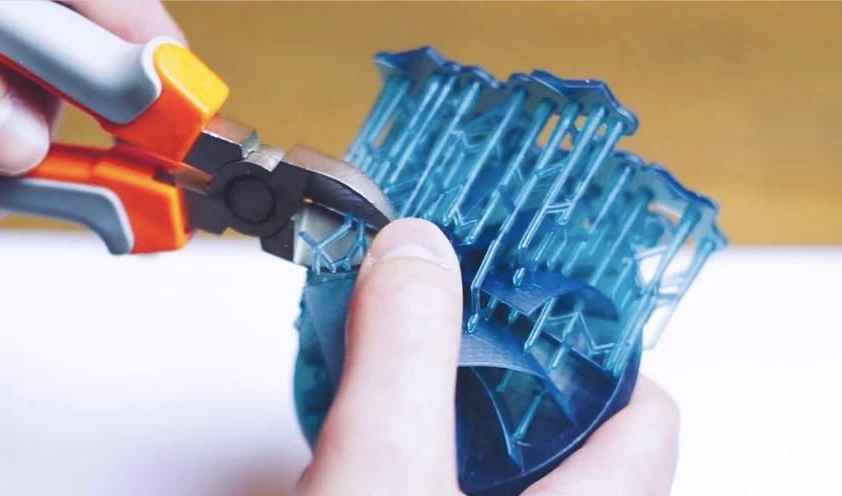
Lack of support: If no support is included in the slicing then overhangs might not be printed as they are supposed to. Add support and retry.
What is support? Support is short for “support structures”. These structures are thin strings of filament that your printer places to ensure that all your models’ layers are held at the right place doing the printing.
Here is a deeper explanation: Your 3D printer prints one layer on top of another layer, starting from the bottom layer. Imagine that you are printing a classic medieval bridge, then your printer will start with the four pillars, and end at the middle of the bridge. In this example, the middle of the bridge is the 10th layer, and because there are no layers below it, it will be printed into thin air. To enable you to print a bridge, you will need to enable support, so the supporting structures can hold the middle of the bridge while printing
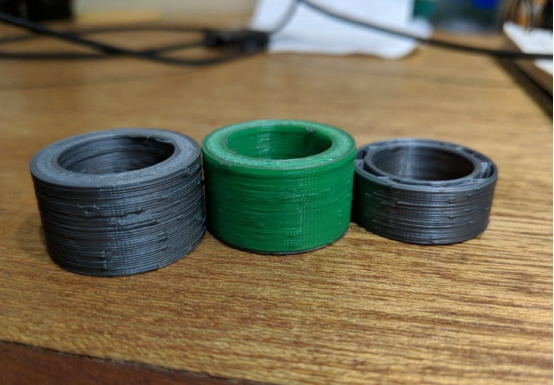
2. Separated layers
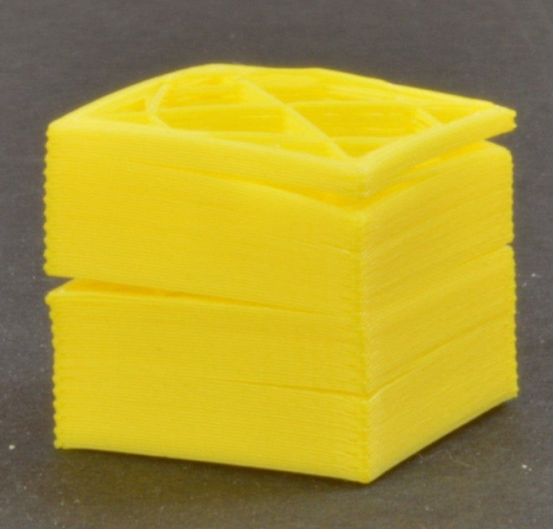
The layers will be separated or split resulting in a print that will be weak or break.
What’s wrong and what to do?
Too low temperature: The head temperature is too low, and should be increased.
Filament entangled: The filament can sometimes get entangled, and the printer cannot extrude the filament. If this happens, try to disentangle the filament.
Temperature changes: If the temperature is changing the extrusion can sometimes become inconsistent, or even stop completely. You should contact your reseller, and follow the instructions provided.
3. Print not sticking to the bed
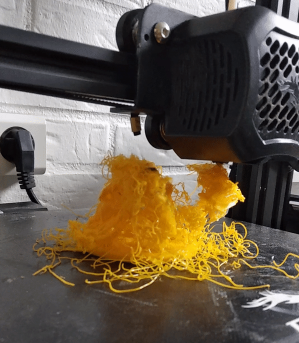
Many of us have experienced returning to our printers only to find that the part has detached from the bed and created either an amorphous blob or the plastic spaghetti .
The first layer of your print is the most important factor when it comes to bed adhesion. A secure first layer will improve the chances of a successful print.
What’s wrong and what to do?
Level your bed:
Bed leveling is one of the more challenging printer calibration steps but one of the most important for a secure first layer. An un-level bed will cause some parts of your print to be less compressed than others and likely lead to warping later in the print.
Adjust your Z-offset:
On most 3D printers, the Z axis is your vertical axis and that which defines how much space there is between the bed and nozzle. For the first layer of a print, you want the nozzle to be offset between 0.10mm and 0.25mm from the bed. This will ensure that the first layer is slightly squished against the bed without causing poor extrusion from over-compression.
An offset that’s too high will reduce the contact area between the first layer of the print and bed, which can lead to the part detaching. A value that’s too low will keep the nozzle from extruding plastic and can lead to motor skipping.
Adjust your bed temperature:
Plastics contract when they cool, and this leads to an effect known as warping. When plastics contract, they tend to pull inwards which curls the edges of a print upwards and can lead to your print detaching. A heated bed keeps the temperature of your base layers high, and prevents them from contracting inwards. If you’re noticing the edges of your print curling up, try increasing the bed temperature.
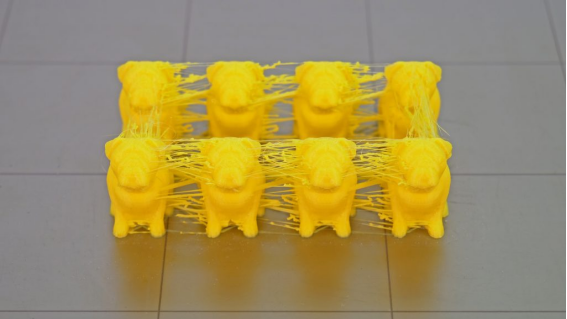
4. Stringing (hairy prints)
Stringing usually appears if your print settings are not accurate, while you are printing complex objects or multiple objects at once. This is recognizable as a marginal line of plastic left behind or between the object/s. In other words, it’s that hairy bit of plastic we don’t like to see.
Keep in mind that some filaments, such as PETG or flexible filaments, may be stringy even with perfect print settings. In the photo below, you can see an extreme case of stringing. Usually, the stringing is not so severe, but if you encounter something similar to the objects in the photo, follow the instructions below
What’s wrong and what to do?
· Check the tension bolts – Before you touch any of the settings, make sure that the Tension bolts located on the extruder idler are properly tightened, although, this is not that common.
· Use proper printing settings – We highly recommend using the preset settings in Slic3r PE or PrusaControl. However, if you are printing with your own settings, make sure that you have the retraction settings set correctly. Retraction settings can be found in Slic3r PE in Printer Settings – Extruder 1.
· Try to lower the nozzle temperature – Lowering the temperature will minimalize strings. Therefore, you can try to decrease it by 5 – 10°C.
· Don’t bother, just use a heat gun! – If you don’t feel like tweaking any of the settings, well, then there is an alternative. You can get rid of the strings with a heat gun (or possibly with a lighter). Just set it to around 200°C and aim at the strings for one or two seconds. This will melt the strings, and the printed object should remain undamaged.
5. Blobs and zits on the surface
3D prints are primarily judged by their surface quality, with blobs and zits hallmarks of either a low-quality 3D printer or an amateur maker. But don’t be disheartened – blobs affect everyone because they depend on settings.
Blobs and zits are common after turning a printer on and off due to variations affecting the extruder system.
What’s wrong and what to do?
Retraction and coasting settings can cause blobs and zits. If imperfections appear the moment the perimeter is printed, your retraction settings need adjusting to account for the distance between when the extruder stops and starts.
If your printer has a Bowden extruder, it’s helpful to avoid retractions so that it doesn’t have to reverse, although this can cause stringing (see aboved).
Adjusting retraction settings allows you to avoid minor surface defects like blobs and zits. If the defect occurs when the extruder comes to a stop, the coasting setting is helpful to switch off the extruder a little before it reaches the perimeter. Coasting sets the speed the nozzle moves when the extruder isn’t pushing material out.
Have a good time 3D printing. It can get frustrating sometimes, but every time you fail, figure out what happened, and prevent that from ever happening again!