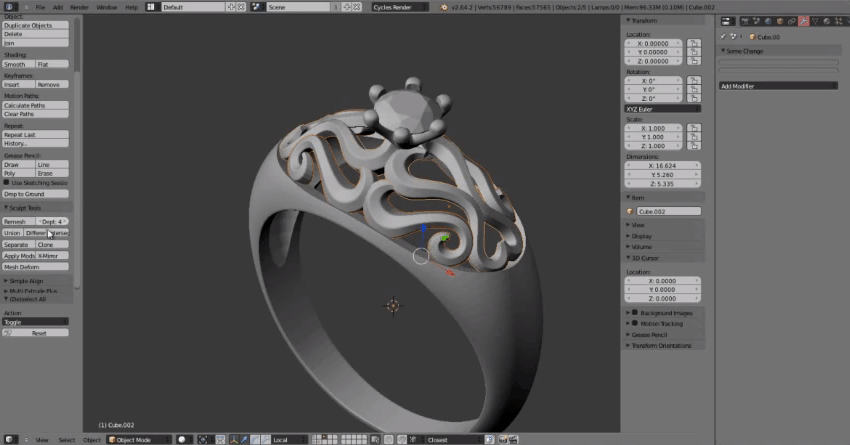
3D printing has been a godsend for people working in the world of medicine, architecture, and manufacturing. Gone are the days of spending hundreds of thousands of dollars and waiting ages for models to be built. Now, in the span of mere hours, their visions become reality in rapid and glorious 3D form.
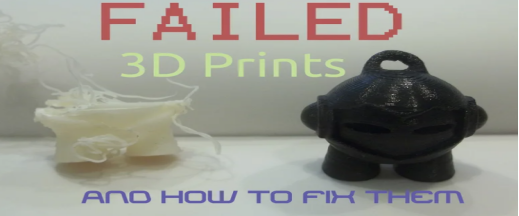
The popularity of 3D printing has soared in the last few years as it becomes more accessible. More and more people are purchasing printers for their own personal use; however, many people have limited knowledge when it comes to actually using them.
For those of us without an engineering degree, the process can almost appear to be the result of “magic”. Rest assured, there is no trickery involved.
Let's demystify the process by breaking it down step-by-step:
Step 1 – Creation
Using either a 3D object scanner or 3D design software (usually CAD – computer-aided design software), the design is created.
If you are not ready/willing to create your own design, you can easily purchase or download files created by other users online.
Step 2 – STL File Creation and Transfer
Once your design is created, it is converted to an STL file (STereo Lithography or Standard Tessellation Language). This will allow the printer to tessellate and digitally slice your model into layers.
The STL file, which stores your 3D object’s information, is then transferred to the printer using custom machine software.
Step 3 – Choosing Materials and Parameters
When it comes to choosing your material for a 3D printing job, there are several options available to you, and therefore several things to consider. Does your object need to be durable? Will it need to withstand high temperatures? Does it need some flexibility to it? Depending on your needs, it is crucial that you choose the right material.
If you’re just starting out with 3D printing, PLA is a great material to start with. Not only is it affordable and easy to work with, it’s also biodegradable and emits a sweet smell when printing.
Before printing, be sure to determine the size and placement of your model.
Step 4 – Creating the Gcode
Once parameters are set and materials are loaded into the machine, the STL file needs to be imported into a slicing software. This software converts the information from the STL file into a Gcode, which is a specific code containing exact instructions for the printer.
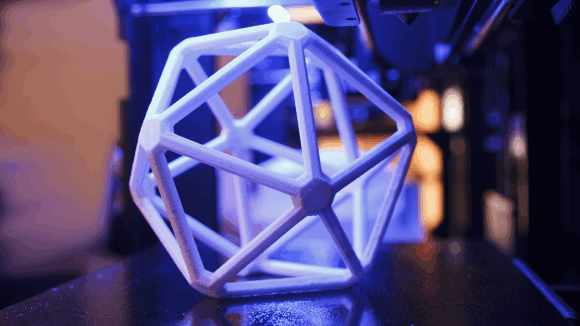
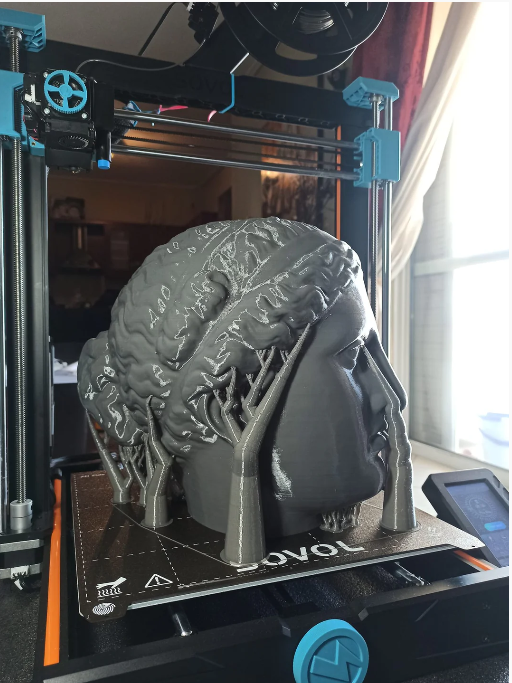
Step 5 – Print!
Finally, the moment you’ve been waiting for! Your 3D image is ready to print.
The model is printed as the machine deposits material layer by layer.
The speed at which your model prints is essentially based on three things: the size of the model, the materials used, and the quality of the printer.
Small jobs may be completed in just a few minutes, whereas larger models may take several hours.
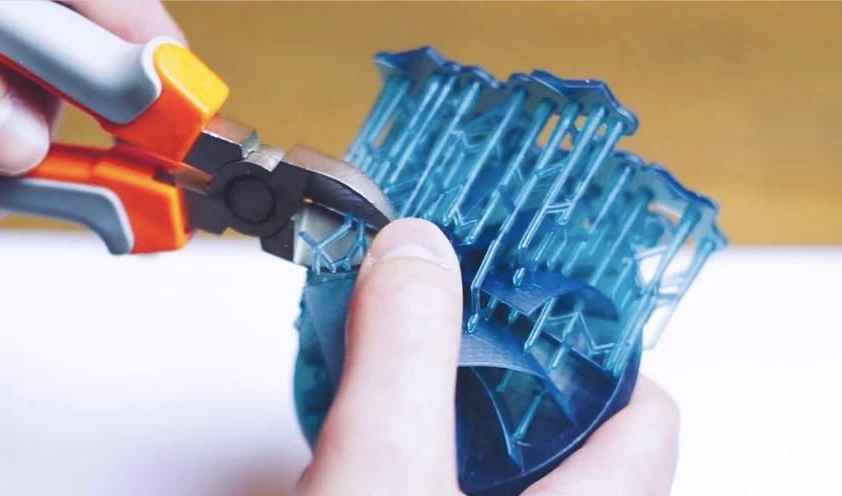
Step 6 – Removal
If your 3D printing job is relatively simple, it can likely be removed easily from the build platform.
For more involved or advanced jobs like prints on industrial printers, the removal process may call for someone with professional skills and specialized equipment to remove it.
Step 7 – Post-processing
Some 3D printing jobs call for post-processing once the printing process is complete.
Post-processing may involve cleaning, sanding, painting, or polishing.
There you have it! That’s how, thanks to advances in 3D technology, a brilliant idea can come to life in physical form in mere hours.
How Does 3D Printing Work?
A digital 3D image created on a computer is analyzed and divided into layers, as if sliced horizontally
Each “slice” is produced in succession on the 3D printer, layering on top of each other to gradually produce a whole object
There are many different processes that can produce an object in this way, some involving liquid resin, powders or thermoplastic materials.
SOVOL mainly provide FDM/FFF filament 3D printer, any interests, you can check in the product page.